10 Jun How to make a Father’s Day Toolbox Pop Up Card
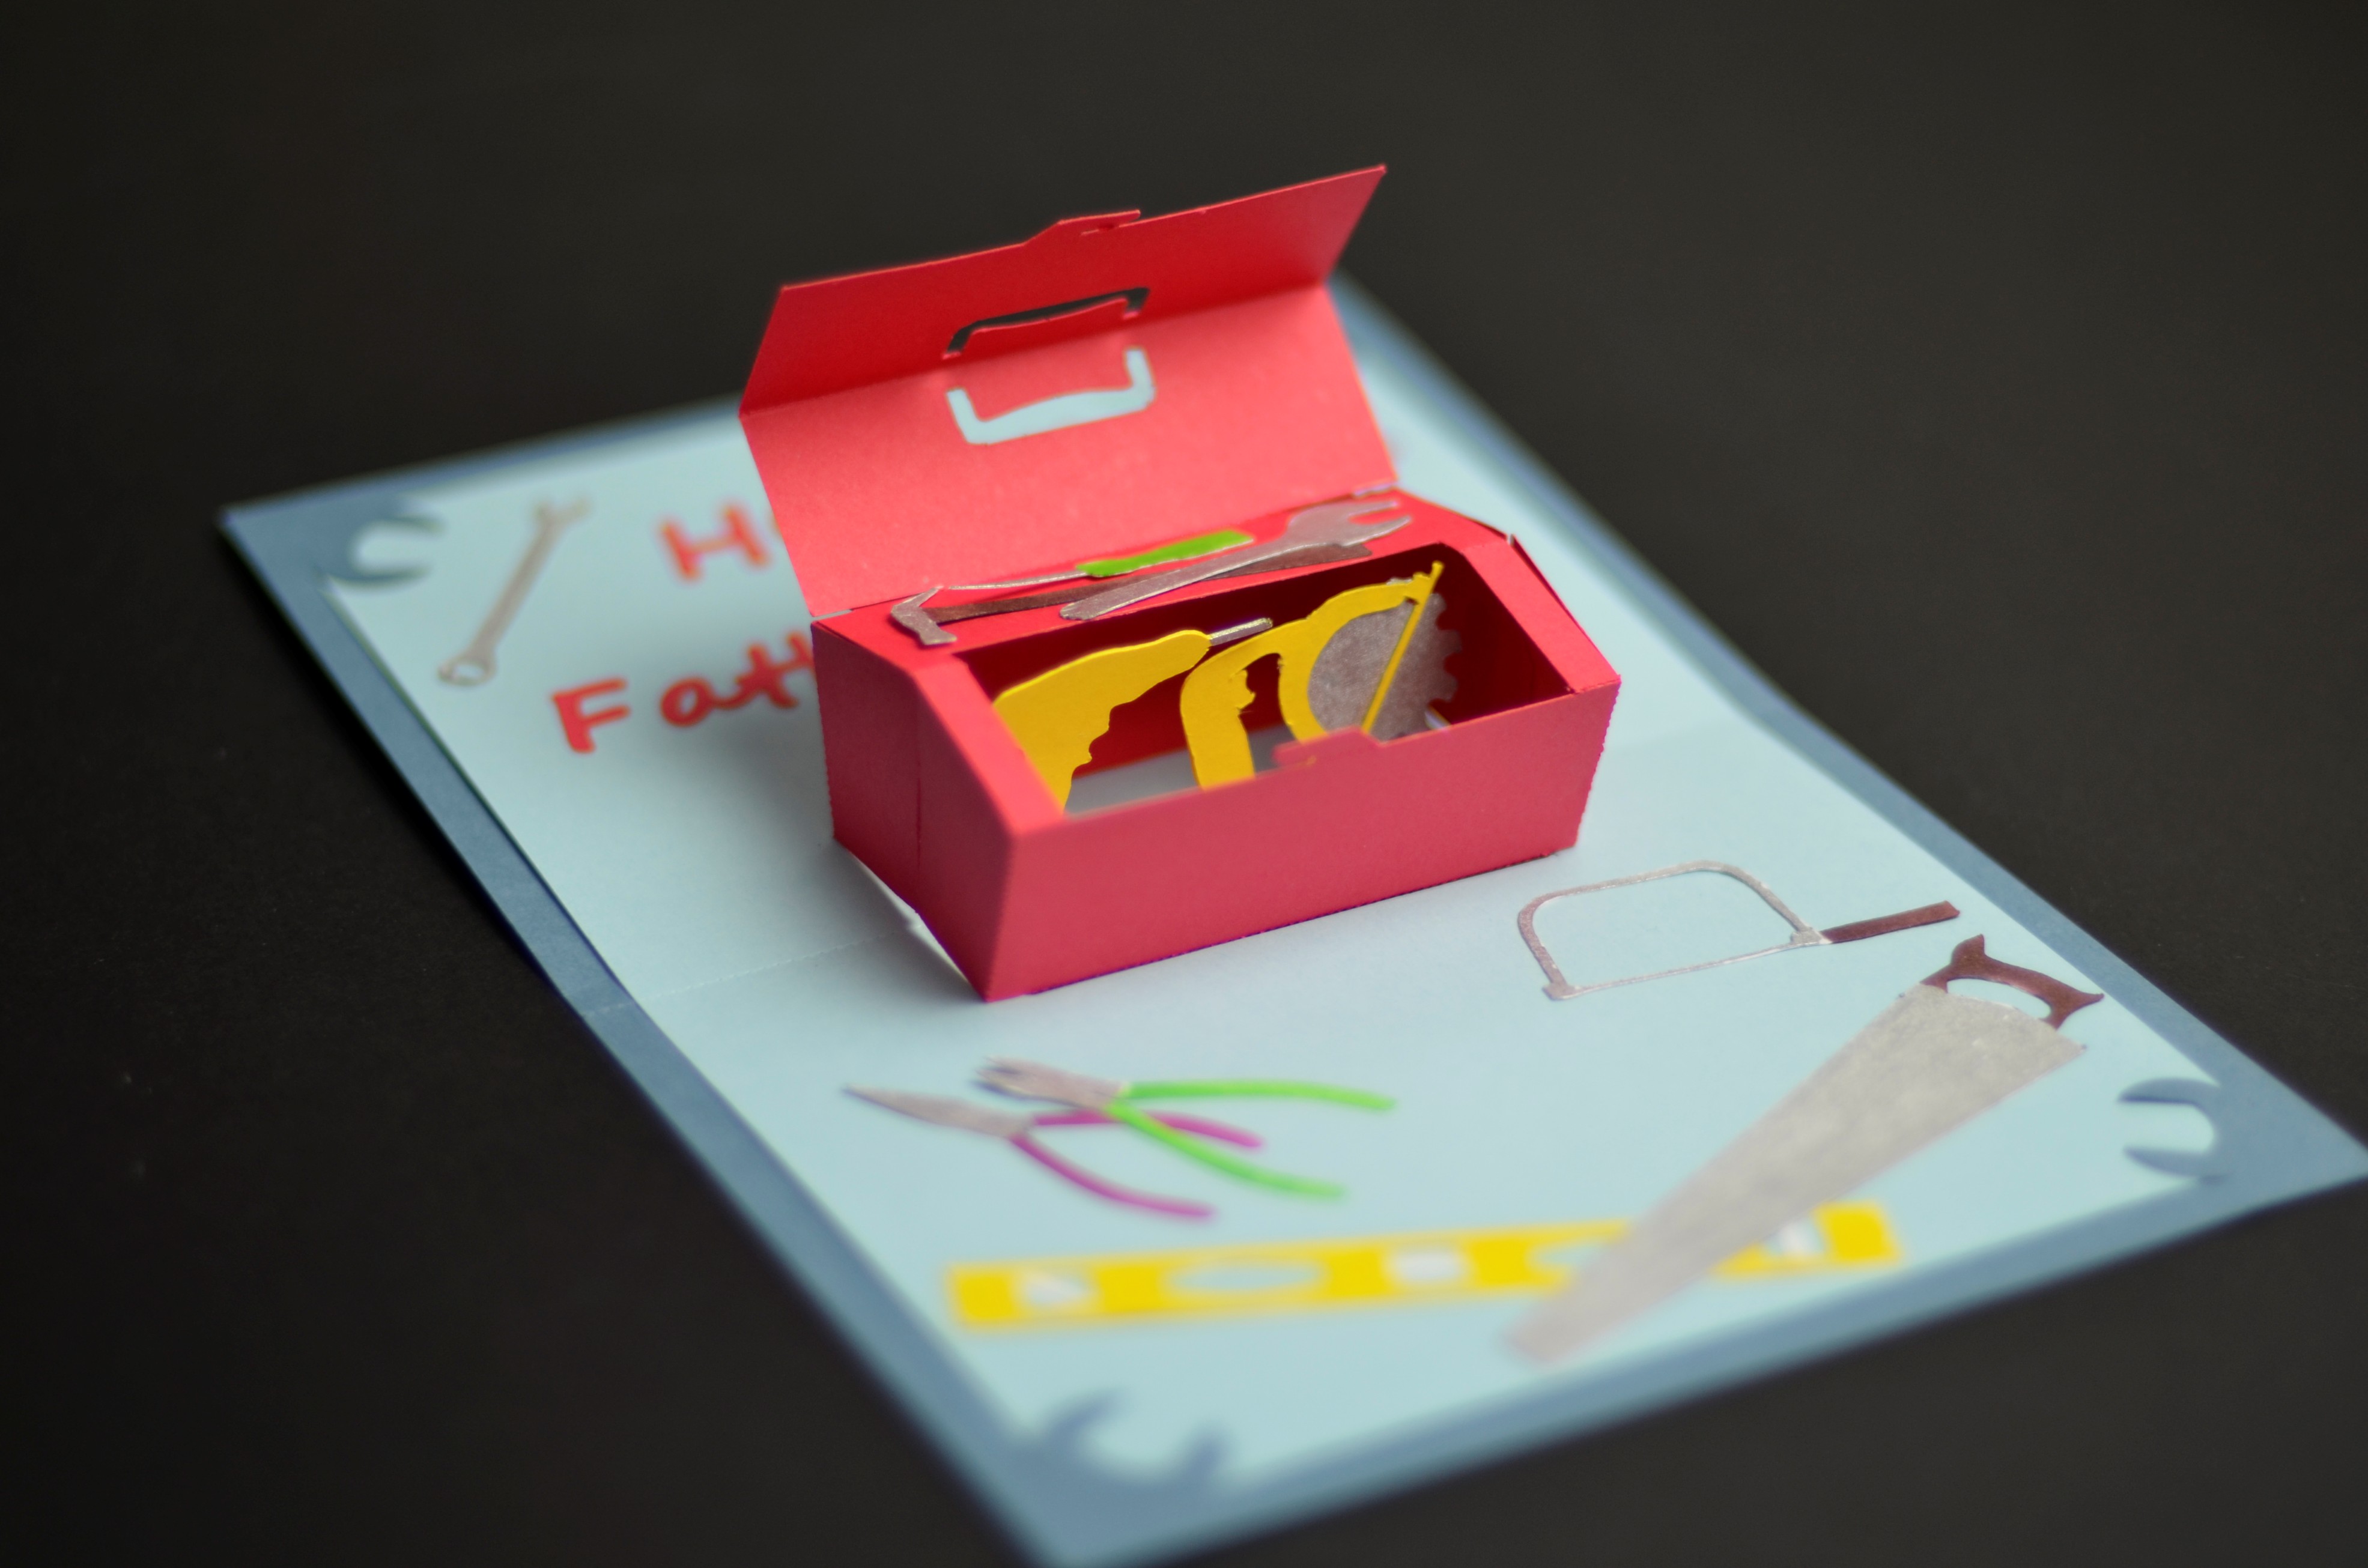
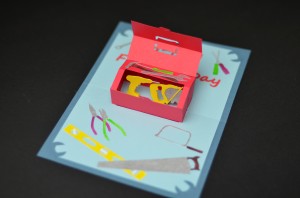
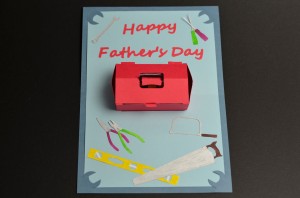
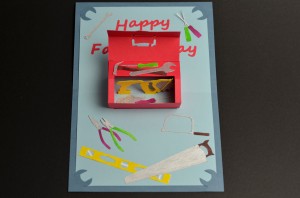
In this post, I will show you how to make the Father's day toolbox pop up card. This card has a 3D red toolbox that can be opened to show the tools inside. There is a power drill and circular saw that is standing upright inside the toolbox. You can pick other tools to put inside the tool box or to put around the outside. The other tools include a hammer, screwdriver, pliers, wrenches, saw and level. I had to look into my own tool box to see what to use and those were the tools I found. Here is what the card looks like:
This card was pretty fun to make. As some of you may know, I like to make pop up cards that move or have some action. This card is very similar to the barbecue grill card I made last year. I used the same “box” design for the toolbox and grill. I changed the handle and inside shelf. I also redesigned the card so that it can be assembled easily to the inside card. I added an outside card to frame the inside card, which is more like the recent cards I've made.
Here is a video tutorial for making this toolbox pop up card.
I would recommend watching the video for detailed instructions but I've included a written version below.
- First, purchase the template for this design at the template store: Father's Day Toolbox Pop Up Card.
- Print out the 4 pages of the template.Use the template to cut out the pieces for the card. I used red card stock for the tool box and lettering, light blue card stock for the inside card, dark blue card stock for the outside card and white card stock for all of the tools. You can refer my post on using templates to help you cut the parts out.
- Color the tools with markers or with paint. (markers are a lot easier) I would recommend using a silver Sharpie marker to color the metal items. To make coloring easier, I've glued all of the tools down using repositionable glue . After coloring the parts, they can be easily removed and glued to the card.
- Assemble the power drill and circular saw. (I cheated and cut these parts out of yellow paper). Only glue the tops of the pieces because the bottom tabs will be split apart slightly when assembled into the inside card. Fold the tabs on the bottoms of the parts.
- Assemble the two tool box pieces by folding all of the areas with dotted lines and attaching them to the inside card. Make sure that the latches (which close the lid) face in opposite directions. Color the handle black with a black marker. Glue the handles of the lid together. Make sure the handle allows the lid to be folded and opened easily. Insert the bottom tab of the tool box parts into the long slot of the inside card. Fold the tab back behind the inside card and tape in place. Also make sure that the 4 center small slots are closer to the left. Don't assemble the sides of the toolbox yet.
- Insert the tabs of the power drill in the slots on the left. The drill tip should face toward the right. Insert the tabs of the circular saw in the 2 slots that are closer to the middle. The saw blade should face to the right. Tape the tabs down on the back side of the inside card.
- Assemble the sides of the toolbox pieces together. To make it easier to insert the tabs, fold one corner of the male tab down and insert the tab into the hole. Then unfold the corner to lock the tab in place. Notice that the tabs face inwards, into the toolbox.
- Assemble the top shelf of the tool box. Slide one latch in place. Fold the latch down on the other side to make it easier to slide the second latch in place. Unfold the latch to lock it in place.
- Fold the inside card to make sure everything folds flat. Fold the outside card. I recommend folding it back and forth a few times to make it open and close easily. Insert the inside card into the corners of the outside card. Decorate the card with the rest of the text and tools. A glue stick can be used to attach these pieces.
I hope you enjoyed making this card. If you were able to make it for your dad, let me know how he liked it.
The template for this design can be found at the Template Store: Father's Day Toolbox Pop Up Card Template.


Krista's Paper Cafe
Posted at 18:01h, 10 JuneRich! This is darling! Very clever–two pop ups in one.
Creative Rich
Posted at 21:41h, 10 JuneThanks Krista!
Nadine
Posted at 22:40h, 10 JuneFab card with amazing attention to detail. Brill design.
Creative Rich
Posted at 23:05h, 10 JuneThanks Nadine!
dary
Posted at 15:11h, 11 Junewhere download the templates
Creative Rich
Posted at 17:35h, 15 JuneHi Dary, the template can be purchased here: Toolbox pop up card template.
dary
Posted at 15:13h, 11 Juneor do I have comprerlas
Bella
Posted at 21:13h, 17 AugustHey I love it, Any chance it will be free for a day or something, as I really want to make it for my dad for fathers day, (in down under it’s first Sunday in September) and can’t afford or buy it. Thanks for making such cool designs to make the rest of the world envious. Bella
Nazhiif Haron
Posted at 22:16h, 07 Novemberi hope i can make one for my father’s hardwork :’)
wika
Posted at 03:39h, 24 Marchwow so good..
Laurie
Posted at 16:20h, 05 JuneThis is like…amazing!! How did you think of it?
CreativeRich
Posted at 10:58h, 06 JuneHi Laurie! Thanks for visiting my website. I’ve been making pop up cards for years. I’m also an engineer, so that helps.
A.R.T.
Posted at 19:22h, 18 OctoberSuper ce modèle.
Pour voir mon interprétation …
https://www.artournadre.com/archives/2013/10/10/28096312.html
Moi aussi je suis ingénieur et je crée mes modèles, mais j’aime aussi beaucoup interpréter les vôtres.
Anne.
CreativeRich
Posted at 00:44h, 19 OctoberThat is beautiful! Thank you for sharing. I love the way you decorated the card.
I'mYourFan
Posted at 05:07h, 15 FebruaryI’m an aspiring engineer and I hope I could do things like these!! I’ll do my best!!
CreativeRich
Posted at 08:34h, 15 FebruaryThanks Hylene!