20 Mar Easter Bunny Pop Up Card Tutorial
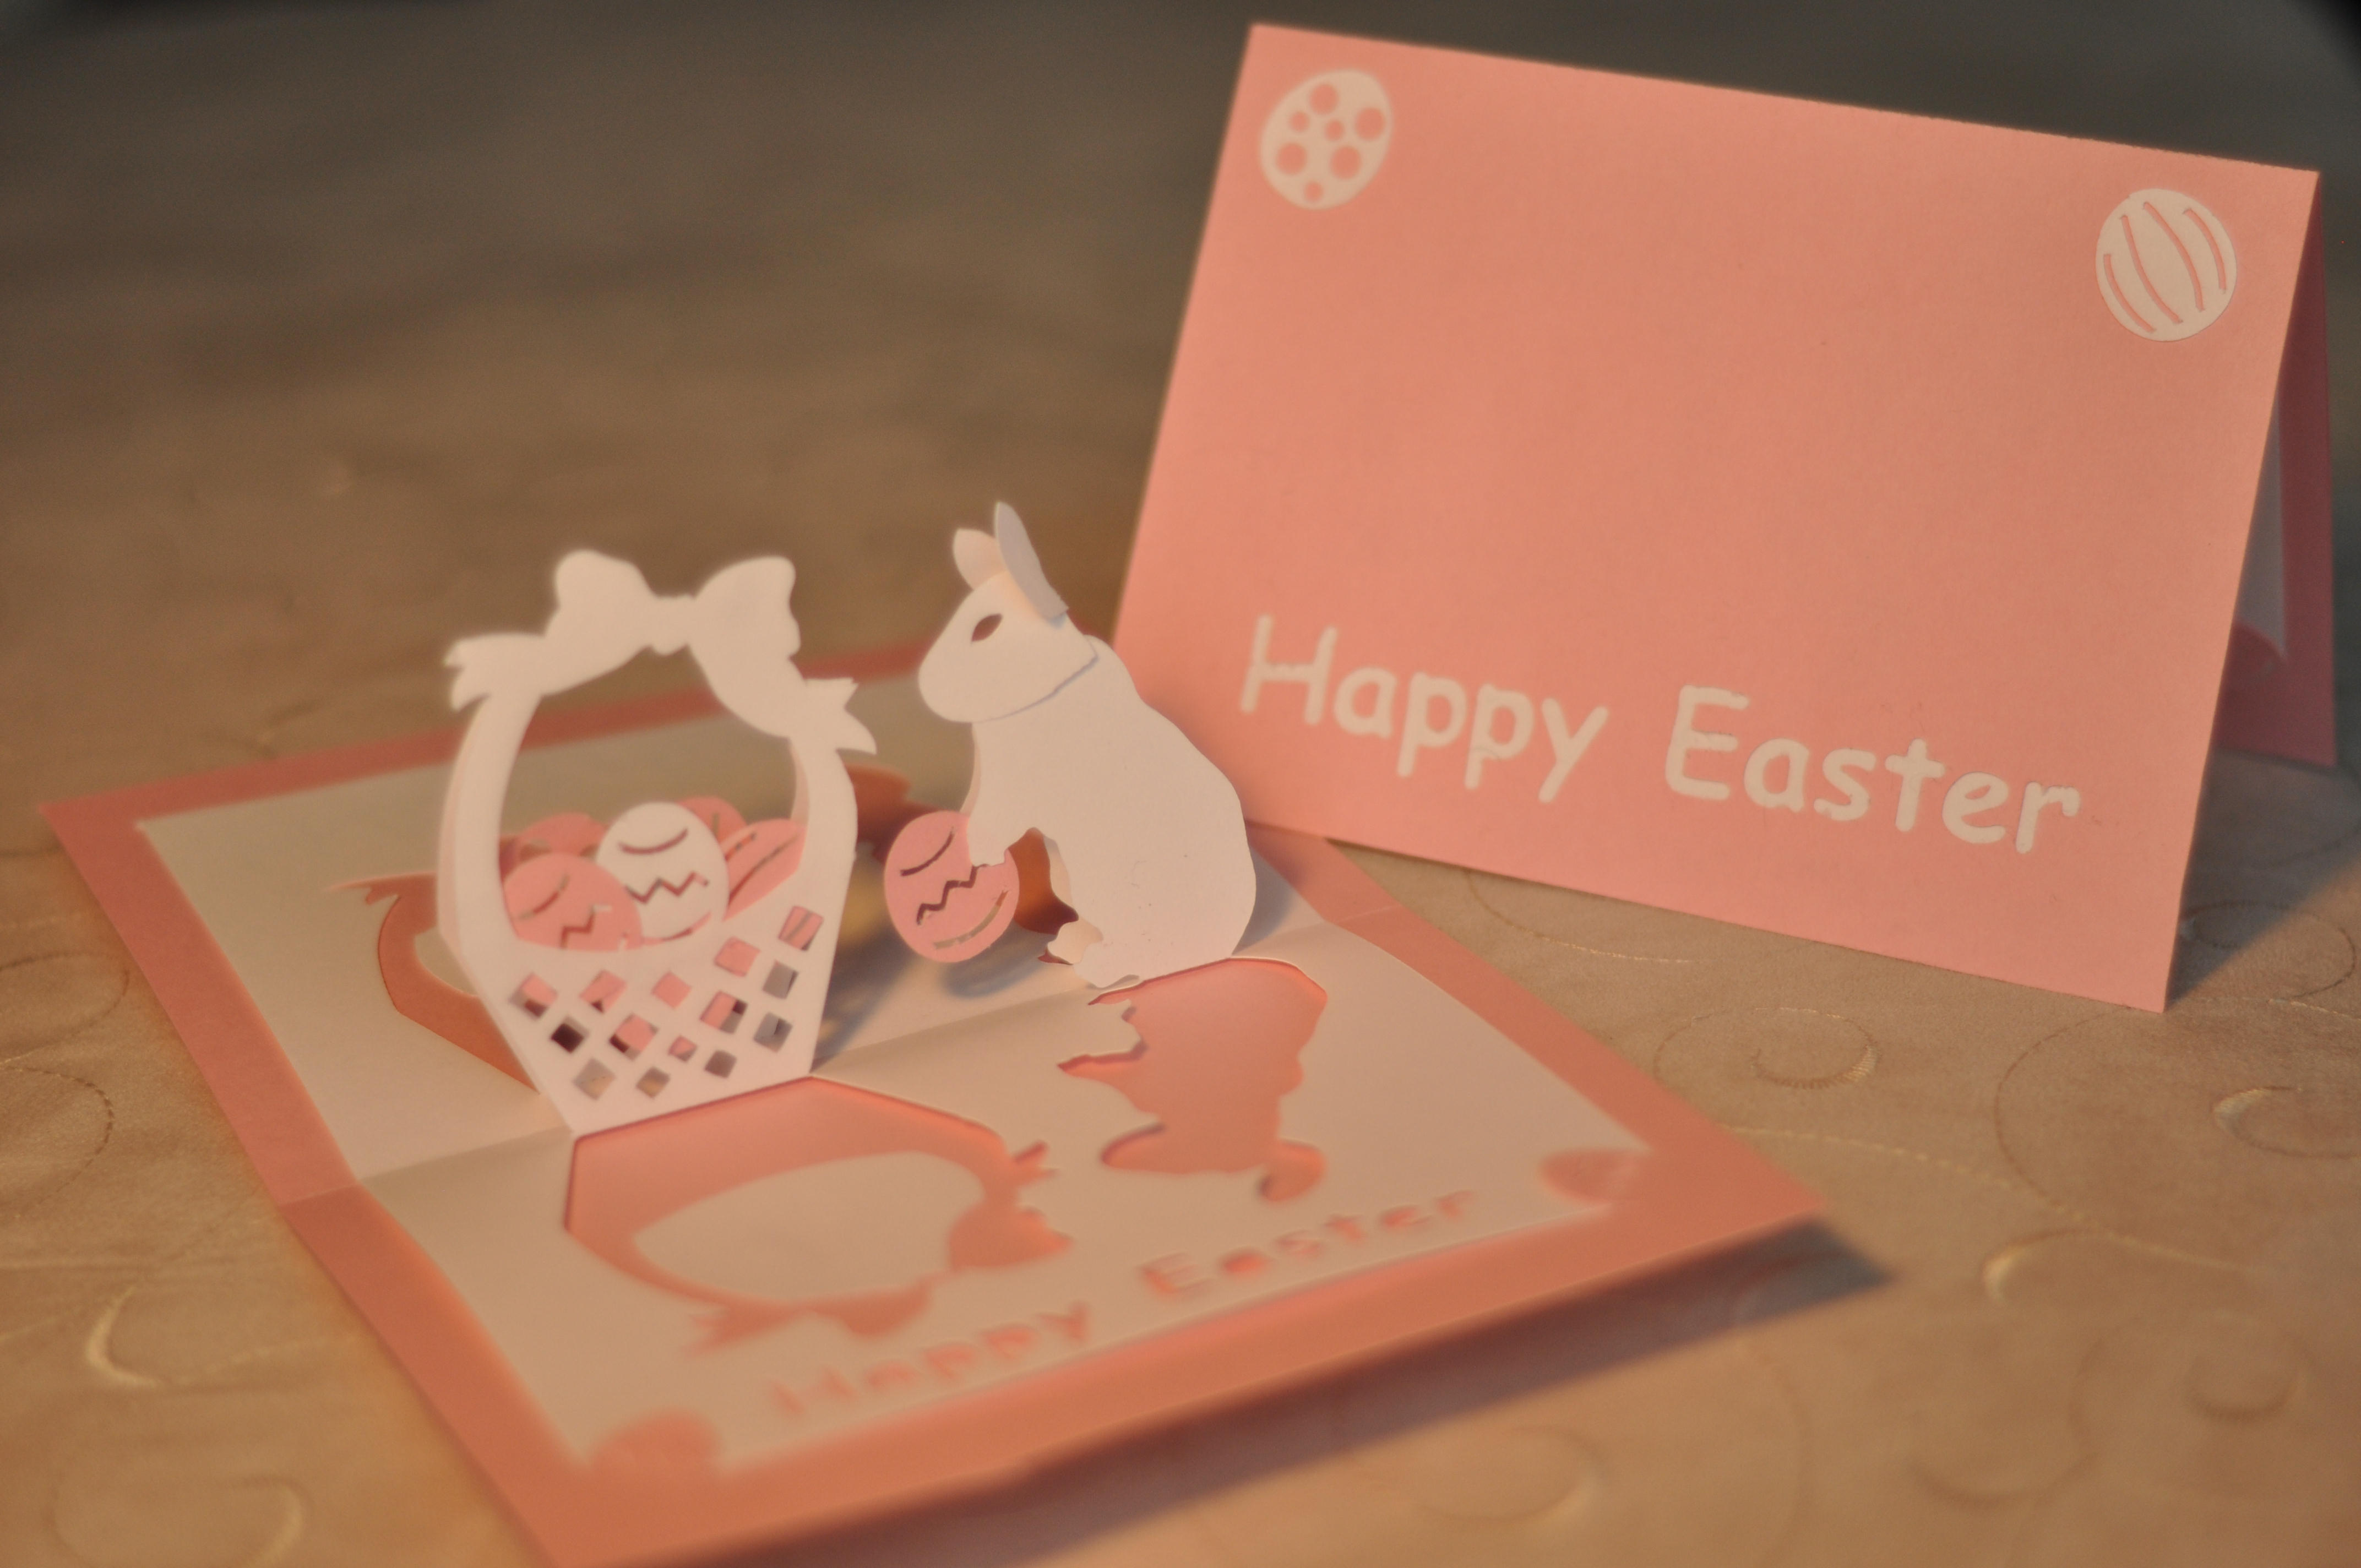
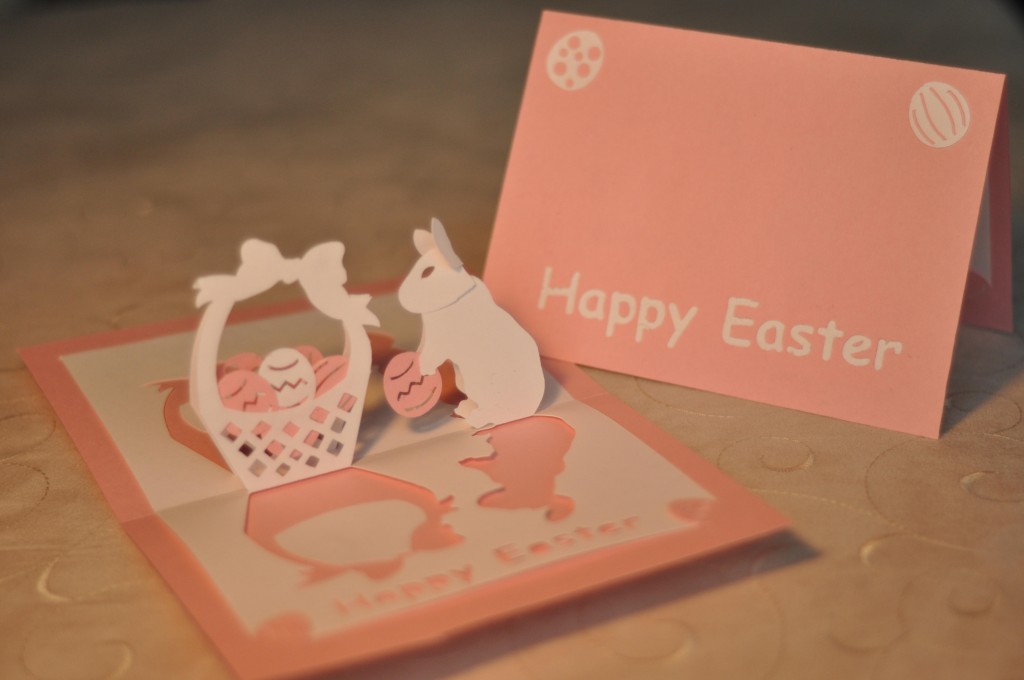
Here is the tutorial for the Easter bunny pop up card. The card also has an Easter basket full of Easter eggs. I just realized that although the bunny looks normal to me, I should have made his ears a little longer. Our pet rabbit is a Netherland Dwarf, and has really short ears, for a rabbit that is. So I modeled the card after him. So, you may want to make his ears a little longer if you think he doesn't look like a bunny. The card is made from 2 different colored pieces of card stock. Here is what the inside and outside of the card look like again:
Here is the video tutorial.
Here are brief instructions if you don't want to watch the video.
- Purchase the template for this card design here: Easter Pop Up Card Bunny Template.
- Using the template, cut out both the inside and outside pieces of the card. Make sure you keep all the extra pieces that may fall out.
- Be sure to cut out the section near his neck. If you don't, the bunny silhouette will have a really skinny neck.
- I've included a bunch of eggs, but you will only need 3 of the white ones and 6 of the pink ones.
-
Next, you want to fold all of the scored areas. Fold the bunny's head down and up in a zig zag fashion as shown below.
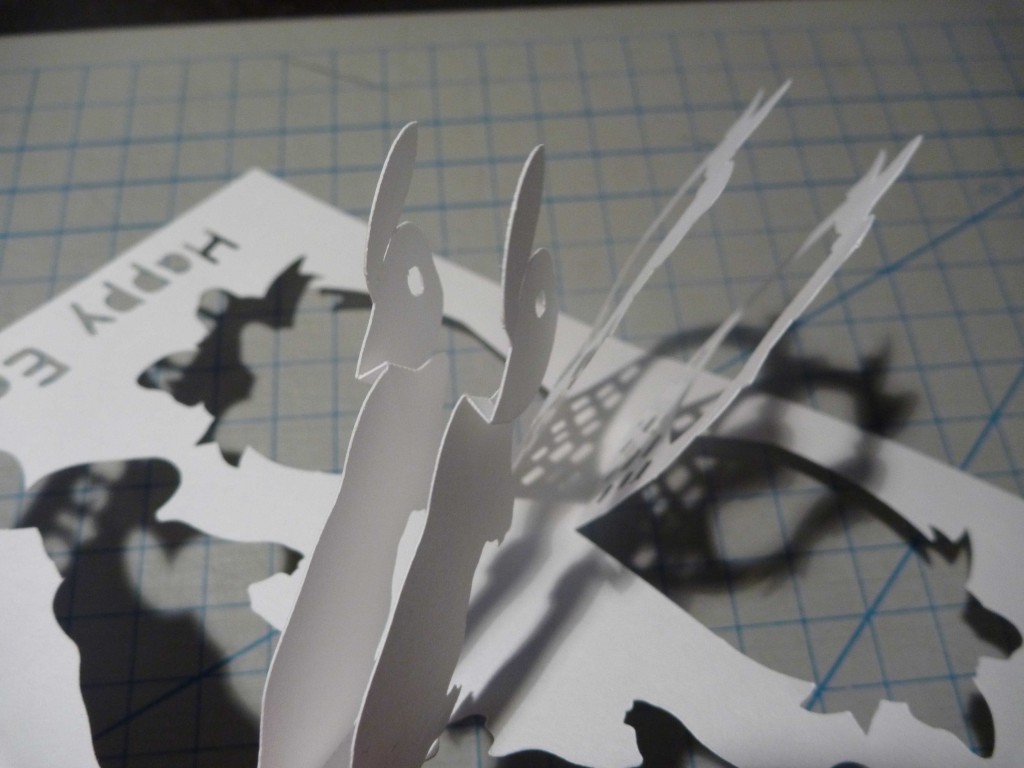
- Fold the card in half and make sure everything is aligned. Make sure the bunny's eyes line up.
- Glue the basket together. You only need to glue the very top bow area.
- For the bunny, only glue his forehead and nose. Don't glue his ears yet.
- Again, make sure everything folds flat. Always check this before the glue dries.
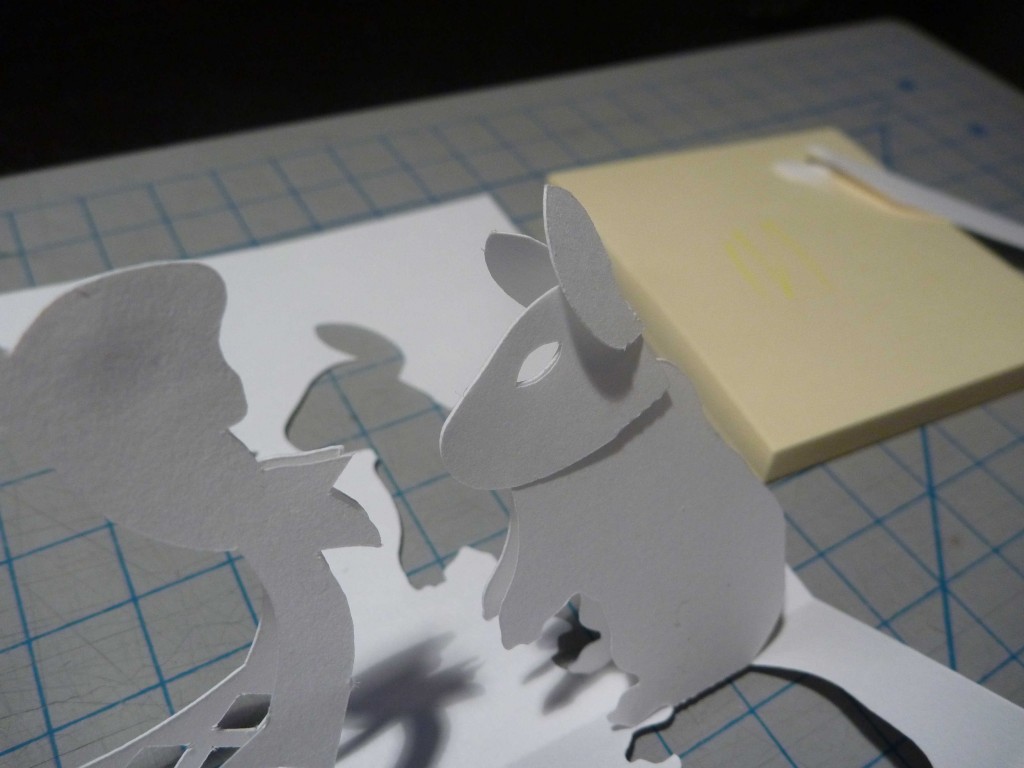
- Now, fold the bunny's ears down. You may want to offset the fold a little so you can see both ears. You may also want to curl his ears a little bit so they appear round. Here is an image of what it looks like:
- Attach the inside card to the outside card.
- Slide the front of the white card into the “egg” slots and make sure the card folds in half.
-
Then glue the other end down in the corners and around the lettering. Make sure the glue isn't exposed through the lettering.
- Now check again that it folds flat.
- The next step is to glue all the extra small pieces like the basket parts and the hole in the “P”s and “A”s in the lettering.
- Glue 4 eggs, 3 pink and 1 white to the front of the basket.
- Glue one egg in the bunny's hand.
- Then glue another 2 pink eggs to the back of the basket.
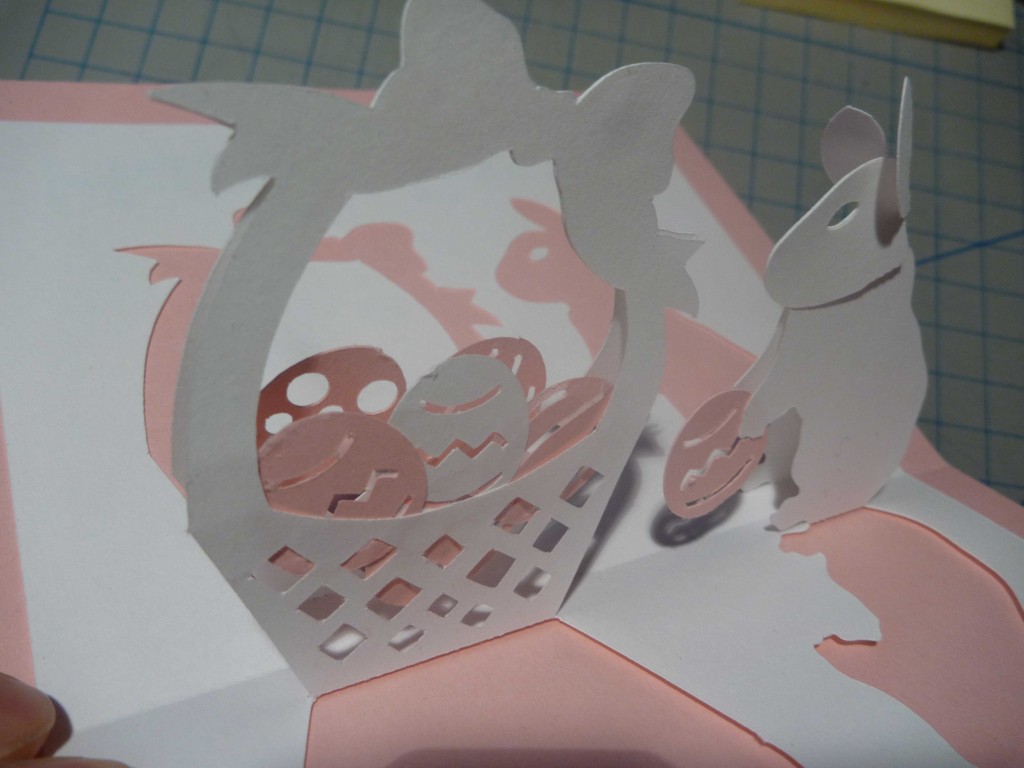
- Here is a close up of the basket and eggs:
- Glue a few more random eggs to the front cover, and we're done.
I hope that's helpful.

Lloyd Humphrey
Posted at 19:08h, 27 MarchGreat work on the site I was wondering if you could make a christening card as my new baby cousin is getting christened just something simple like a cross or something so I hopeyou could make one for me
Thnks Lloyd
TINA CREA
Posted at 05:57h, 29 Marchwonderful … thank you !
VL
Posted at 22:03h, 30 MarchHi there,
I’ve been following your channel ever since I saw the kissing card and I’ve been a huge fan of your work! I was wondering if you could share with us what tools you use or any tips for cutting- I’ve been trying out your templates with an Xacto knife and my cuts don’t come out as clean and crisp as I like. (Maybe even a video? Sorry if you have posted or mentioned this somewhere before)
I look forward to seeing more of your creations, thanks so much!
Creative
Posted at 02:35h, 31 MarchHi! Thanks for watching my videos and visiting my site. That was one of the topics i wanted to cover at some point. I used to do everything with an xacto knife. But now, the only way i can make these tutorials practically is to use a cutting machine. I currently use a Klic-N-Kut Element, but others who have visited my site use a Craft robo or Cricut. I think the Craft Robo is preferred over the Cricut because you may need some 3rd party software to cut using the Cricut (Otherwise you will need to buy their own cartridges). If you do use an Xacto, use a new, real Xacto brand blade. the other cheap blade are made from a cheaper metal which gets dull or bends easily. The tips of real Xacto blades break off, cheap blades actually bend.