10 Aug Baby Shower Pop Up Card: Pacifier Tutorial
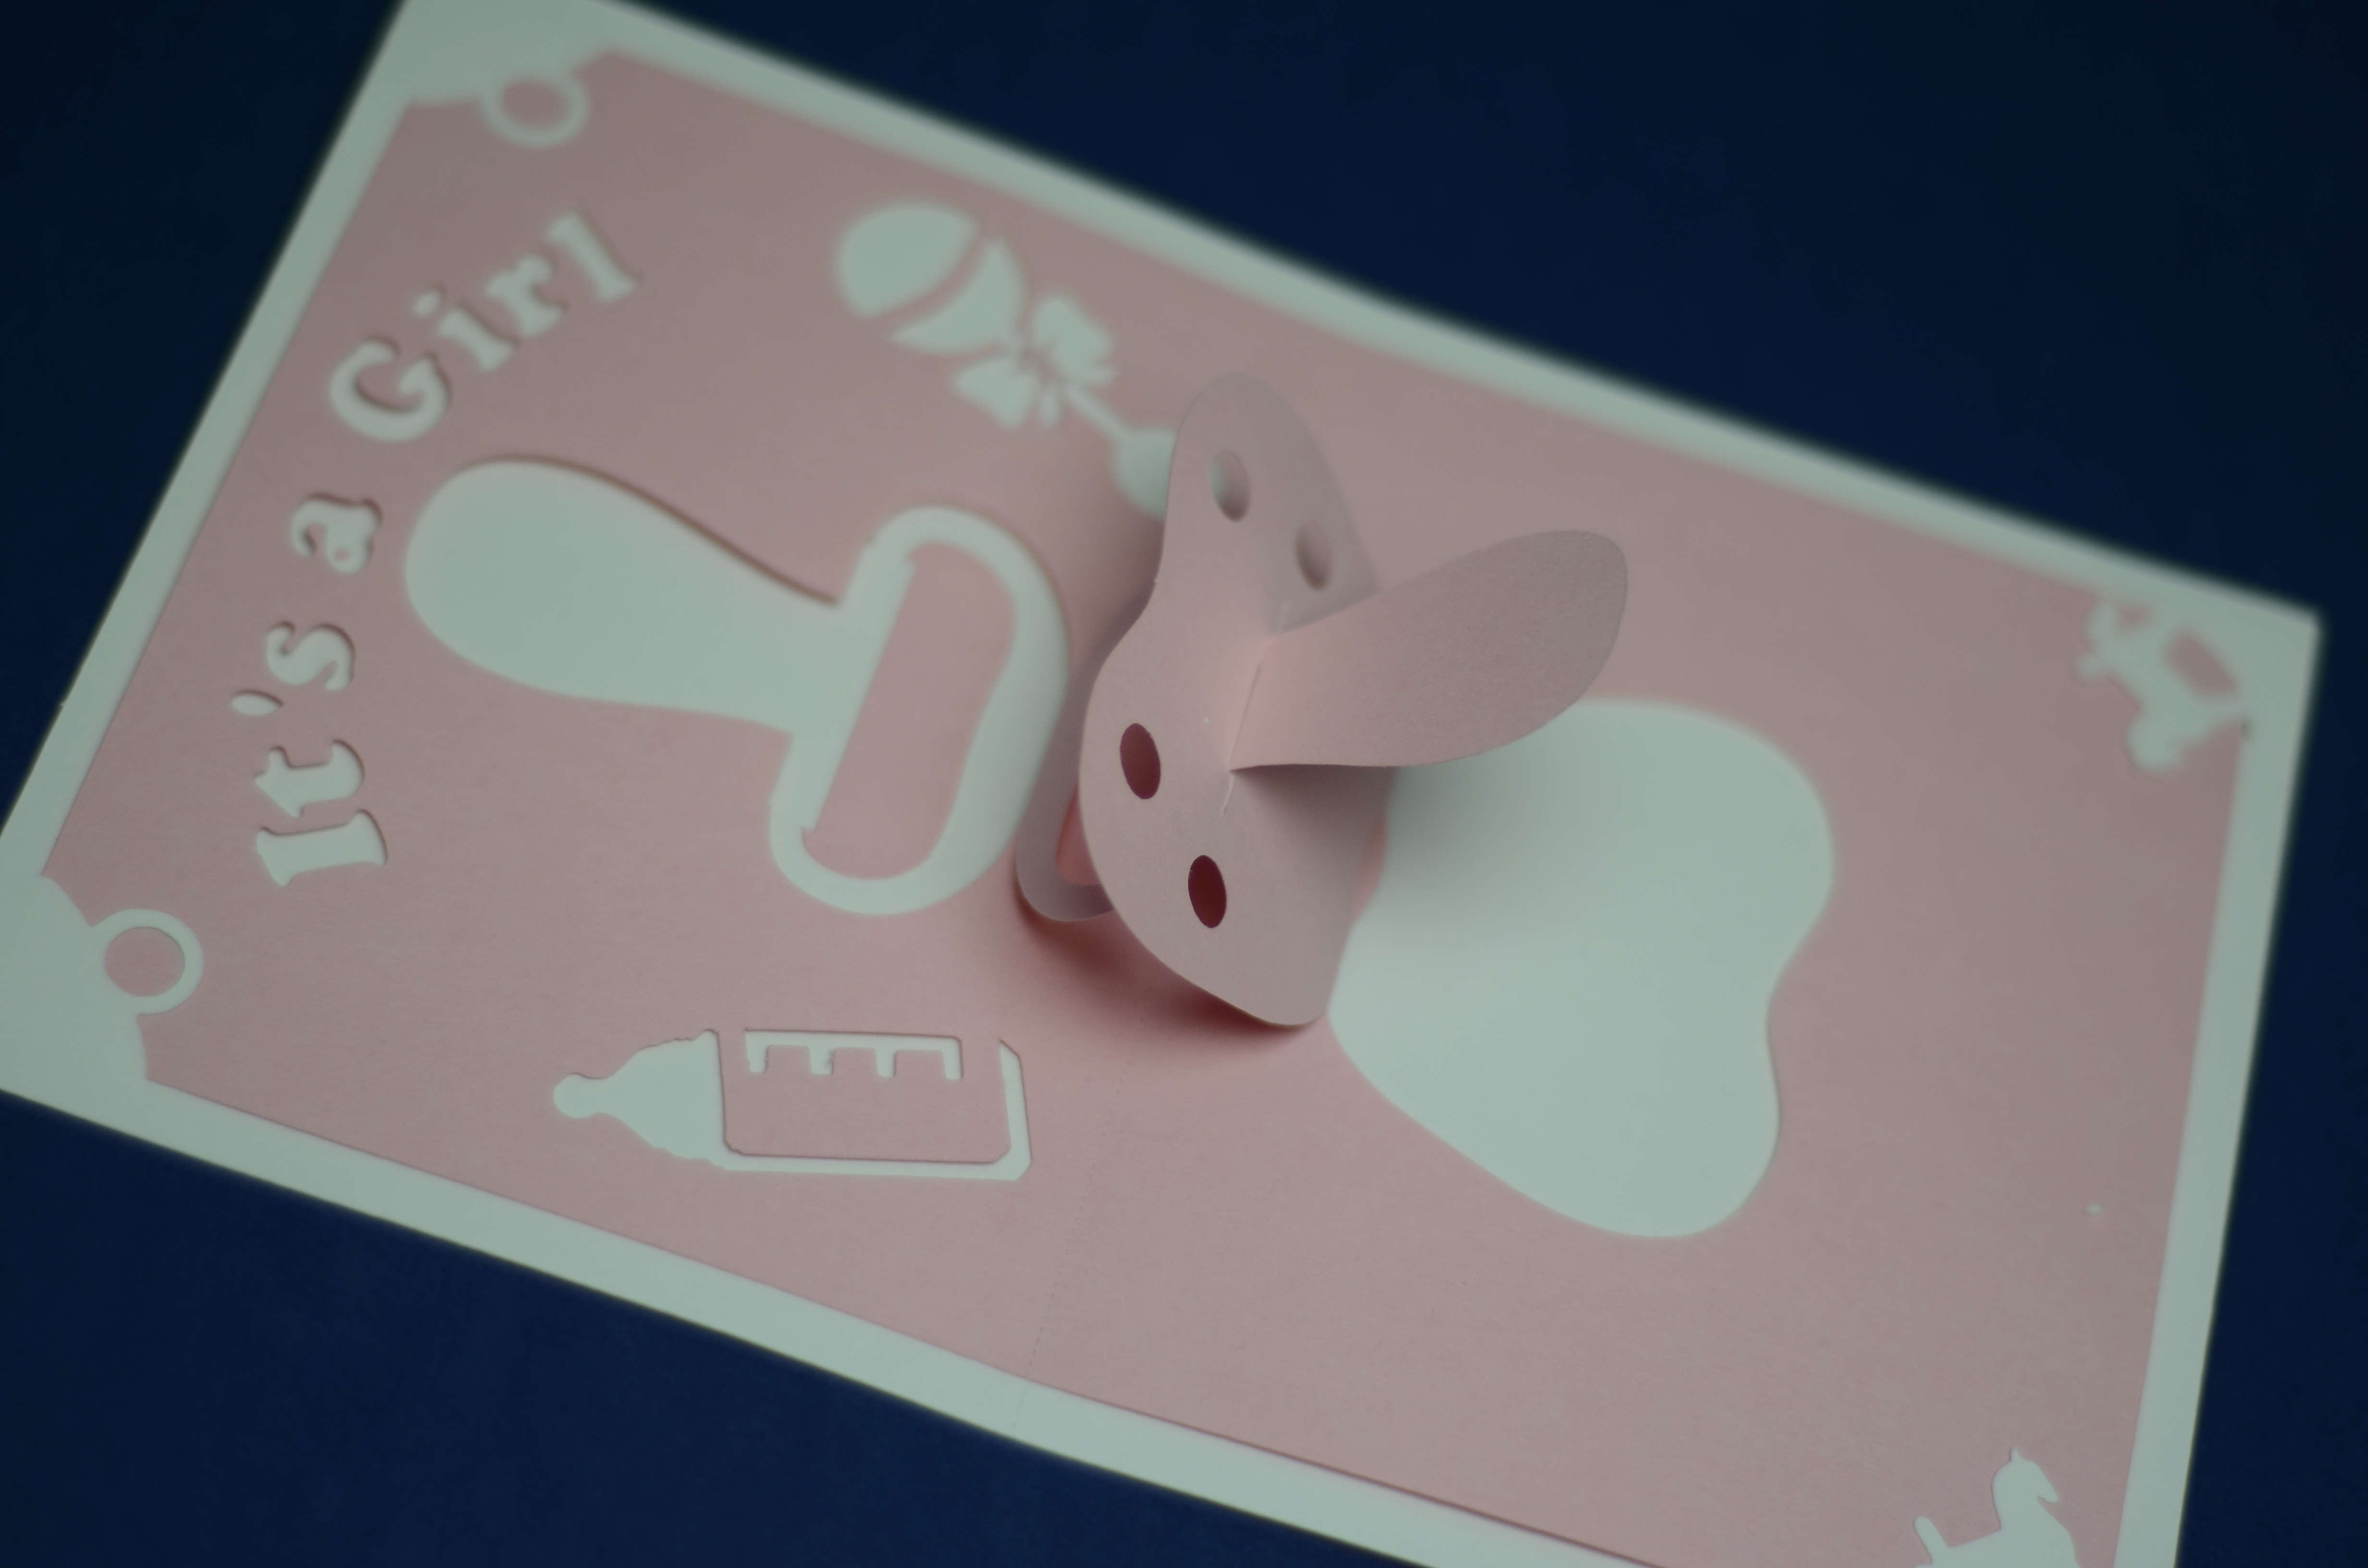
In this post, I will show you how to make the baby shower pop-up card. The template can be found below. This card is a very simple popup card that can be used for any baby related card. Besides baby shower invitations, this card can be used for baby announcements, new parent congratulations, or thank you cards for a baby shower. I've created a few different template versions which say, “It's a girl,” “It's a boy,” “Congratulations,” and “Baby Shower.” I've also included a bunch of clip art to decorate the card. These include a baby bottle, rattle, carriage, rocking horse and a simple pacifier. Assembling the card is pretty easy because there is no gluing required, except for gluing in the text and clip art. If you don't want to cut the text out, you can always write in your own wording. I think that one of the best things about making your own card is that you can personalize it. So if you know the baby's name, you can write that inside. Or you can glue in some clip art of the baby's zodiac symbol. If it's an invitation, than obviously you would include the date, time and location. You can really customize the card by using some specialty baby scrapbooking paper.
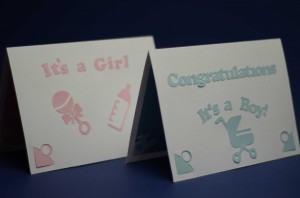
I made a blue card for the tutorial, so now I have a card for a boy and a girl. Here is what the cards look like from the front:
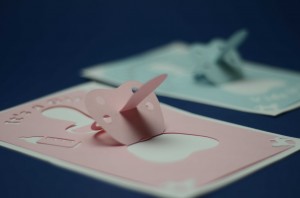
Here is what the cards look like open:
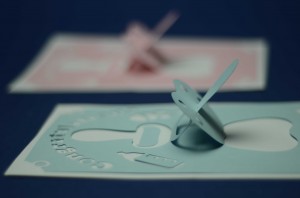
And here is what the card looks like rotated, so you can see the back of the pacifier.
It's hard to see the whole pacifier from one angle. That's why the video is the best way to see the card. The video of the tutorial is shown below:
Here are detailed instructions on how to make the card:
- Purchase the template for this design here: Baby Shower Pacifier Pop Up Card Template.
- Print out the template.
- I've included several variations of the template with different text. There is also a page of clip art for decorations. These decorations can be cut out and glued to the inside or outside of the card.
- Cut out the inside and outside card. If you are cutting the card out by hand, you may want to write in all the text and maybe skip the clip art if you want to reduce the amount of cutting.
- Fold the inside card down the center.
- Fold the 2 parts of the pacifier up.
- Insert the long end of the pacifier into the other end, through the center slit. There is a small cut or slot on the side of the long end. This slot will engage the flat side so that the parts don't slip with respect to each other. Well, that's the way I designed it, but in reality, the parts are pretty tight when assembled so they wont slip.
- Fold the outside card down the center.
- Assemble the 2 cards together. Slip the bottom corners behind the rocking horses and the top corners behind the top rings.
- Finally, glue all the extra parts on. If you cut out the text, glue the insides of the o, a, g's …etc. Then glue the circle on the handle of the rattle. Then glue all of the text and whatever clip art you chose on the front or back covers.
Let me know how your card turned out!


Natasha
Posted at 08:00h, 10 AugustThank you very much for the template. With your permission, take away his
Natasha
Posted at 08:03h, 10 AugustSorry. With your permission, I’ll pick myself.
Liliana
Posted at 18:51h, 10 Augustthe Cards are sweets and so beautifuly. Congratulations. Liliana
cherif
Posted at 19:11h, 10 Augustit’s amazing …..thank you for the tamplate !
seshiria
Posted at 00:22h, 11 AugustTHANK YOU! You’re awesome!
Jannita Hartgers
Posted at 10:46h, 11 AugustThank you very much for the template. It is a beautifull card
gr. Jannita
Monica
Posted at 15:28h, 11 AugustWhat cutting system is used to cut any of the designs? I love the card with the BBQ!
Creative
Posted at 05:51h, 13 AugustI use a Klic-N-Kut Element. The machine is kinda old. I may get a new one. I’m looking at the new KNK Zing or the Silhouette. I’ll let everyone know which one i get.
Eva
Posted at 18:29h, 28 Januaryhow do you get the templates?
Creative
Posted at 22:48h, 28 JanuaryHi Eva, the link to the template is in the first line of the instructions.
sarah james
Posted at 12:31h, 14 Octoberyou cant download it unless you pay. can someone help me please? ASAP
CreativeRich
Posted at 11:19h, 18 OctoberHi Sarah. yes, I sell these templates to support my website. This allows me to create new designs. Maybe I can inspire you to design your own cards. Thanks for visiting my website.
Erica Buhr
Posted at 20:11h, 15 FebruaryHow long does it take for a template purchase to complete? Mine has been pending for almost an hour, and I was hoping to make this card for a baby shower at work tomorrow…
CreativeRich
Posted at 17:55h, 16 FebruaryHi Erica, Sorry it took a while to approve. It should be ready to download now.