01 Jul Independence Day Napkin Ring Tutorial
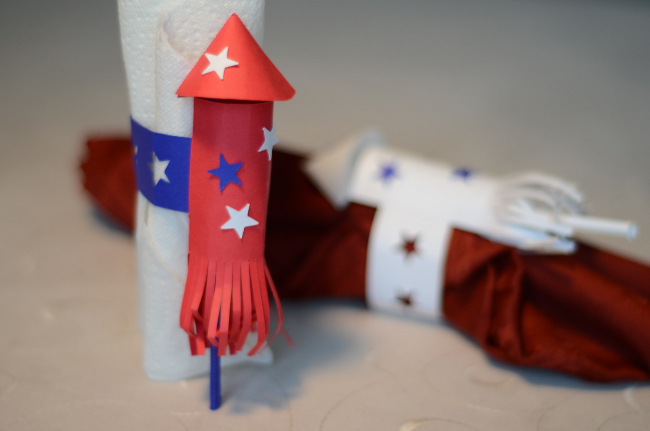
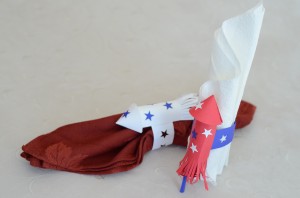
I created these firecracker napkin rings or napkin ring holders in place of making a pop up card because I don't think may people make cards for the 4th of July. In this post, you'll find a tutorial on how to make the firecracker napkin ring. You can also download the napkin ring template below. Since we will be having an Independence Day party, I decided to design something that would make the table setting look more festive. After dinner, the guests can take them home as a party favor. Depending on what color your napkins are, you may want to make the napkin rings a different color. If your napkin is white, then make the napkin ring out of blue and red. If the napkin is red, then make the napkin ring out of blue and white. If your napkin is blue….you get the picture. I tried to design the napkin ring as easy to assemble as possible because you would have to make 4 or more of these. Everything can be assembled without glue or tape, except for the stars. The stars are glued on after everything is done. Here is a picture of what the napkin rings look like.
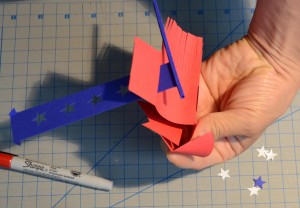
Here is a step by step instructional video of how to make the napkin ring:
Here are the step by step instructions for the tutorial (the video is much easier to understand):
- Purchase the template for this design here: 4th of July Napkin ring template.
- Print out the template. Here are tips for using templates to cut out the design in your desired cardstock: How to use templates to make a pop up card.
- The first page has the template of the body of the rocket. There are 2 pieces on this sheet. To make 6 total rings, you will need to print this sheet 3 times.
- The second page has the template for the ring. There are 6 pieces on this sheet.
- Using the templates, cut out the body, ring and star pieces from cardstock. 65lb cardstock is preferred.
- Here's a tip. If you don't have a cutting machine, then use Krylon Easy Tack adhesive to stick the template to your card stock. Then use a pair of scissors to cut out the template. You'll still need a knife to score the lines you will need to fold.
- Score and crease the sections that are dotted.
- Using a pen, round object or the edge of the table, curl the large section of the top cone, and large section of the body of the rocket.
- Fold the rocket stick which is attached to the ring piece. The folds will keep the stick rigid.
- Slot the end of the ring strip through the slot as shown in the image below:

- Then assemble the cone by folding the cone around and matching the slots together to lock the cone in place.
- Then loop the body strip around and tuck end of the slip into the slot.
- Next, press the “exhaust” strips at the bottom end of the rocket to make it look like fire or smoke exhaust.
- Finally, glue the starts on the outside of the rocket. This will help the rocket look less like a squid.
Sorry, but the written instructions aren't as good as the video. I hope this adds a little something to your Independence Day party! Happy 4th of July!


Penny
Posted at 19:11h, 18 Julythanks