04 Sep Birthday Pop Up Card: Detailed Cupcake Tutorial
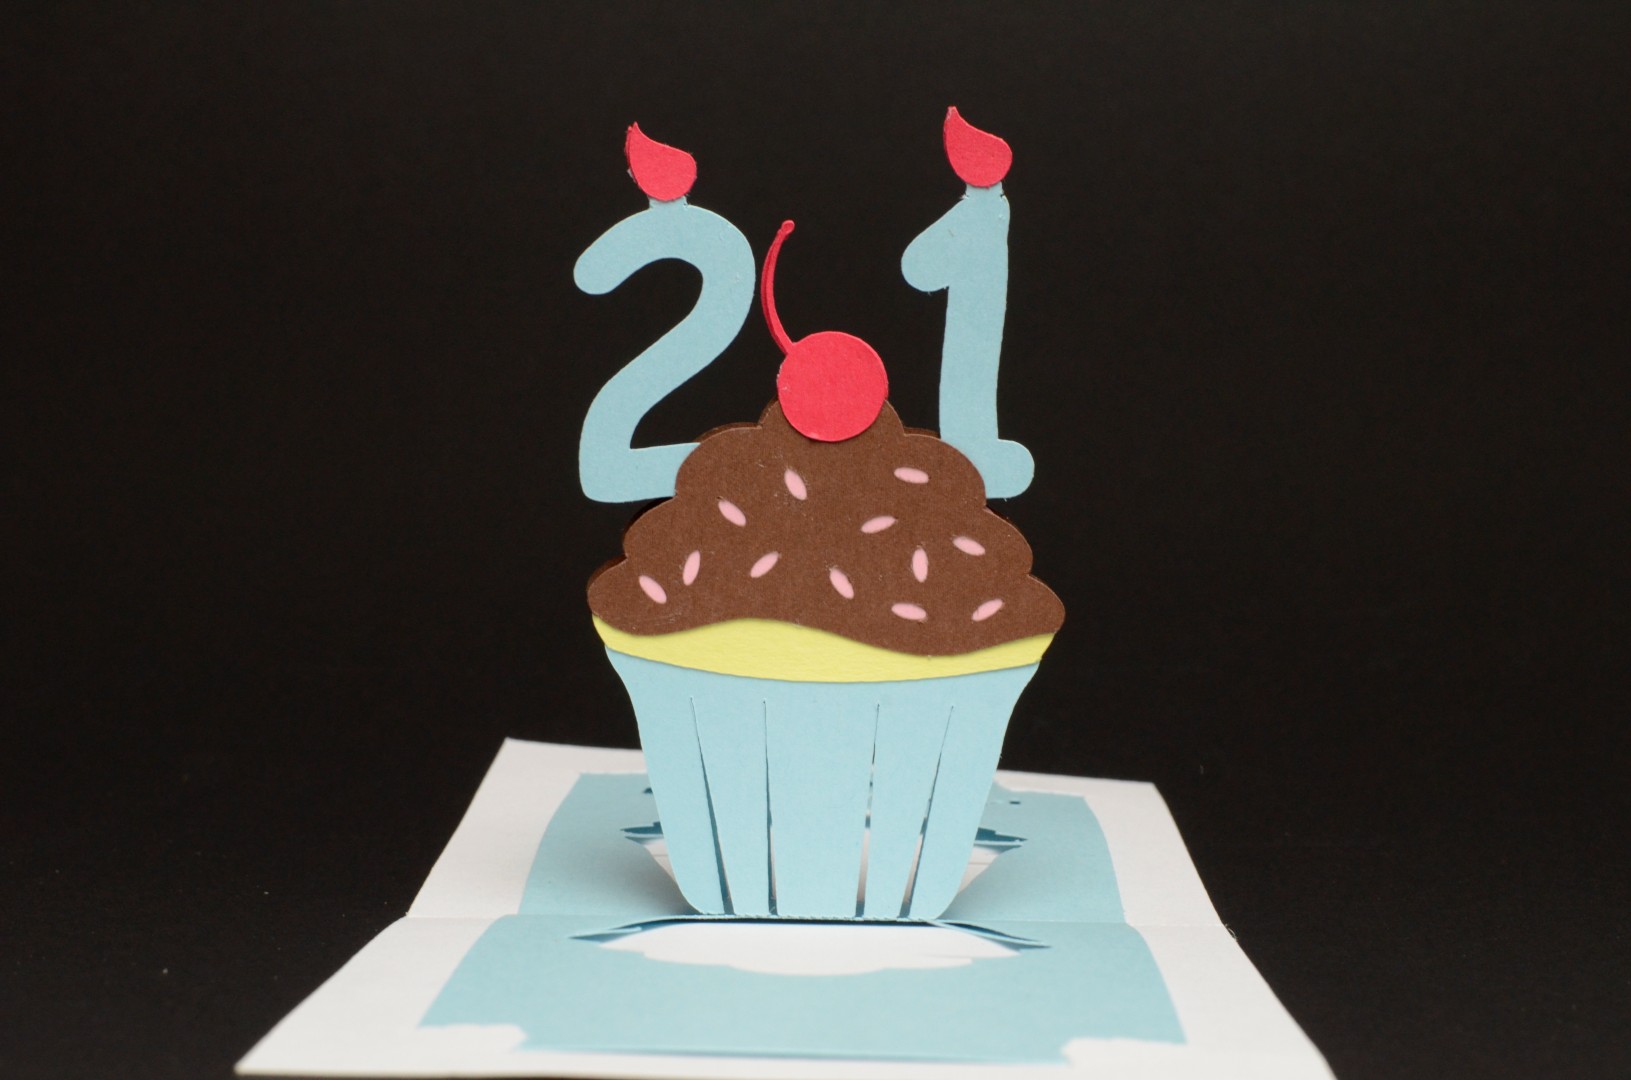
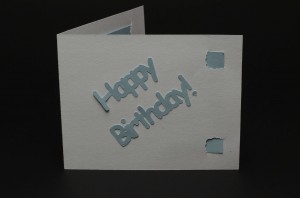
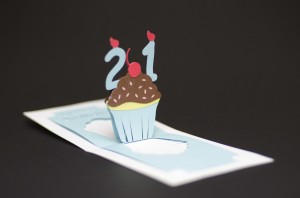
This is the tutorial for the detailed version of the birthday cupcake popup card. This version is a little more advanced than the simple version because the design requires you to be skilled with an X-acto knife or have a cutting machine. I've also included a few more versions of the parts so that the cake is more customizable. For example, the cupcake can have frosting with sprinkles or stars on them. I have numbered candles so you can make the card for someone at any age. Here are some images of a card I made for a 21 year old.
The instructions for how to make the cupcake pop up card are in the video below:
Here are written instructions for the tutorial.
- Purchase the template for this design here: Detailed Birthday Cupcake Pop Up Card Template.
- Print out the template and use it to cut out the center card, oval cake parts, frosting, candles, flames and other pieces you want to decorate your cupcake with. Here are tips for using templates to cut out the design in your desired cardstock: How to use templates to make a pop up card.
- Fold the 2 halves of the cupcake for the center of the card up.
- Glue the top of the cupcake together. Fold the card flat to make sure it is aligned.
- Assemble the inside card to the outside cover at the four corners.
- Glue the candles with your chosen numbers.
- Glue the cake ovals.
- If you chose the frosting with the sprinkles or the stars, cut another piece of colored paper to put behind the frosting. This will add color to the sprinkles or stars and will also block the background color of the cake ovals and the center card.
- Glue the frosting on.
- Glue the flames on the candles.
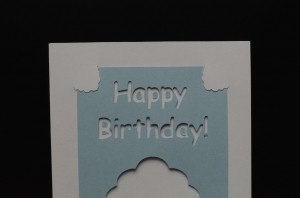
- Glue any extra parts for the lettering inside the card.
- Glue any extra parts, such as the text, “Happy Birthday” to the outside of the card.
I hope you enjoyed this tutorial.

 3D Heart Pop Up Card Template
Shirley
Posted at 11:59h, 06 SeptemberGreat Tutorial!
Ria
Posted at 01:06h, 09 SeptemberBedankt voor deze geweldige tutorial.
Petrina
Posted at 07:09h, 12 SeptemberYour Art is brilliant and beautiful.
For the love of paper.
Happy thoughts,
Petrina
Creative
Posted at 13:04h, 14 SeptemberHi Petrina! Thanks for stopping by my website! You were the one who introduced me to cutting machines back in 2008! I love your work!
eun ji
Posted at 03:51h, 14 September?? ?.? ????? ???? ?? ????? ?? ???? ?????????
vale
Posted at 08:58h, 30 Septemberi love the card…but can u post the tutorial of the lotus flower card? it is amaizing!
jingvites
Posted at 12:59h, 23 Octobercreative as always! love this!
Agnia
Posted at 03:58h, 29 DecemberIt is really wonderful! My 10 friends and I are your fans from Russia! Great work!
Melanie
Posted at 05:34h, 03 JanuaryThank you so much for the videos and templates.
They are sure from a very talented person
Best wishes for your new daughter
Melissa
Posted at 17:17h, 15 Januaryhow did u get the frosting and cake all colorful??
Creative
Posted at 01:08h, 16 JanuaryI cut all the parts out of different pieces of cardstock.
daniela
Posted at 03:12h, 01 Februaryu_U por que pusiste que tenemos que comprar las plantillas yo no soy de estados unidos no puedo comprarlas y me encanta hacer este tipo de tarjetas
sudiro
Posted at 15:43h, 10 Februaryi love this video.because,previously i dont have idea how to make some gifts for my girl birthday.im from indonesia.thanks for this video previously i’ve ever had made 3d pop up cards for my college project.nice to know you
elissa
Posted at 01:38h, 08 Junewhere do you print out the papers
CreativeRich
Posted at 02:56h, 08 JuneHi Elissa, After you purchase the template, you can download the files under “My Account & Downloads”.
antun sojat
Posted at 02:12h, 06 FebruaryHi, is there a video tutorial for this card?? Thnx
antun sojat
Posted at 02:14h, 06 FebruaryStupid me, found it.. 🙂
CreativeRich
Posted at 22:06h, 07 FebruaryYey! you found it 🙂